Getting Ready for App Review: A Checklist Before You Submit
The last check before you hit Submit
An app review prep checklist: a demo account for the reviewer, working features with no placeholders, only the permissions you need, honest metadata, and a release build.
What app review actually is, in plain terms
Your app is built. It runs fine on your phone, your friends have poked at it - looks great. One thing left: get it into the store. Except between you and the Install button for millions of people stands review Review is the store’s check on your app before it goes live. It’s a mix of automated tests and a real human reviewer who opens the app and confirms everything works the way you promised in the description. - the check.
Remember one thing. A real person will open your app. They don’t read your code, and they don’t take your word for anything - they grab the build, go inside, tap buttons, and check: does what you promised in the description actually work, or only on paper? If they trip on the way - can’t log in, hit an empty screen, see a camera request for no obvious reason - they won’t dig into it. They’ll just send the build back.
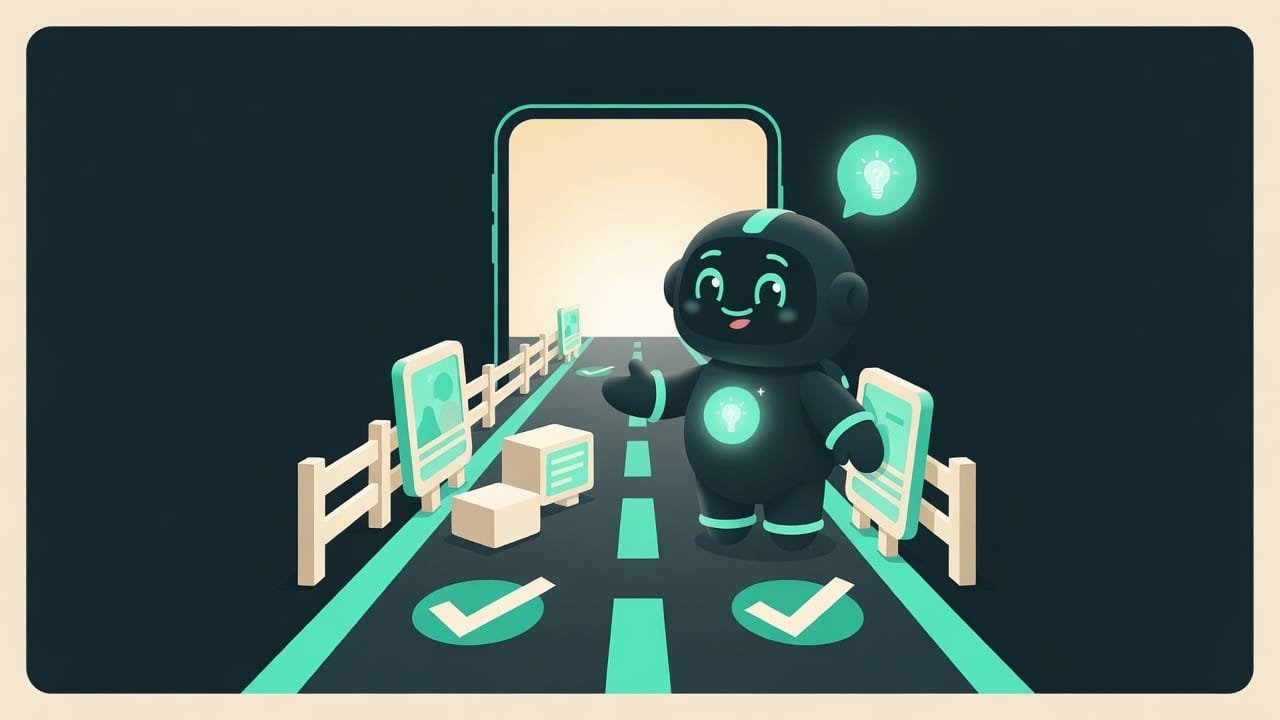
So getting ready for review isn’t about code at all. It’s about clearing every obstacle out of the reviewer’s path ahead of time. One pass through a short list, and your odds of passing on the first try go way up.
Why prepping for review ahead of time pays off
A rejection isn’t a disaster. But it’s a few lost days and a dose of stress for no good reason. And a vibecoder who built an app fast has extra traps to watch for: generated code loves to leave placeholders behind and pull in extra permissions “just in case.”
- You save days: one rejection bumps your release back to the end of the queue and the check starts over.
- You stop guessing “why did they reject it” - most rejections come from the same handful of causes, and you can close them off in advance.
- You don’t get caught out on the basics: stores spot extra permissions and dead buttons instantly.
- You launch calmly, instead of in “the date is looming and review is stuck” mode.
For beginners, most rejections aren’t about “bad code.” They’re about a broken demo account, placeholders instead of features, and metadata that doesn’t match the app. All of it gets closed off with one checklist before you submit.
The checklist before you submit your app for review
Run through these points before you hit Submit. The order goes from the most common failure down to the less obvious ones.
1. A demo account for the reviewer
Got a login screen? Then the reviewer needs a way in. They won’t sign up themselves, won’t wait for an SMS, and won’t solve a captcha. Hand them a ready-made demo account A demo account is a pre-made test login and password with full access to every feature. It exists so the reviewer can get in and see everything without signing up themselves. with full access to all the paid and gated sections.
- The login and password go in the dedicated reviewer field (in App Store it’s App Review Information; in Google Play it’s reviewer access).
- The account has to stay alive until the check is finished - don’t delete it or reset the password while the build is in review.
- If signing in through a third-party service (Google, Apple) gets in the way of the check, set up a separate simple login-and-password sign-in just for review.
2. Working features, no placeholders or empty screens
Stores don’t like half-baked apps. If there’s a button in the UI, it has to do something. “Coming soon” and “In development” labels, empty tabs, dummy screens (lorem-ipsum text, gray squares instead of images) are a frequent reason to bounce a build.
- Every button and tab leads to a real, working screen.
- The server is alive: data loads instead of an endless spinner.
- The content is real - text, images, examples, not placeholders.
- Paid features actually unlock under the demo account.
- “Coming soon” buttons and inactive sections in a finished app.
- Screens with lorem-ipsum text and gray placeholders instead of images.
- Broken links in the menu and the description - to the policy, to support.
- Features that crash or do nothing when tapped.
3. Only the permissions you need, each with a clear note
A permission A permission is a request for access to sensitive data or phone features: camera, microphone, location, contacts, notifications. The user approves each one by hand. is access to the camera, location, microphone, contacts. The rule is short: only ask for what you actually use, and explain why in plain language.
- Don’t use the camera? Drop the camera permission. Access with no visible reason is a red flag for the reviewer.
- Every sensitive access needs a real explanation in plain words: for example, “the camera is used to scan receipts,” not an empty string.
- Vibecoders get caught here most often: the generated template pulls in a pile of permissions just in case. Go through the list and clear out everything you don’t need.
4. Honest metadata: description, screenshots, policy
Metadata Metadata is everything that describes your app in the store before install: name, description, icon, screenshots, category, privacy policy link, info on the data you collect. It’s what the reviewer and the future user see and read. is your storefront. The reviewer checks one thing: does what’s written on the outside match what’s inside?
- Name, description, category - honest, no deception, no other people’s brands.
- Screenshots - from the real app, not mockups painted with promises.
- Privacy policy - a working link that actually opens, not one leading to a blank page.
- Data info - what you collect and why (in App Store it’s App Privacy; in Google Play it’s the Data safety section). Stores cross-check this and penalize mismatches.
5. A release build, not a debug one
And the finale. What goes in for review is a release build, not a debug one. A release build A release build is the final build for publishing: optimized, signed with a certificate, with debug tools and logs turned off. The opposite of the debug build you run during development. differs from a debug one: it’s optimized, signed, with no debug logs and no test servers.
- You build the release version specifically (on Android that’s usually a signed AAB; on iOS, an App Store archive).
- The version and build number are bumped from the last one - the store won’t accept the same number twice.
- The app points at the production server, not localhost or a test environment the reviewer can’t reach.
- Debug banners, test buttons, and console logs are turned off.
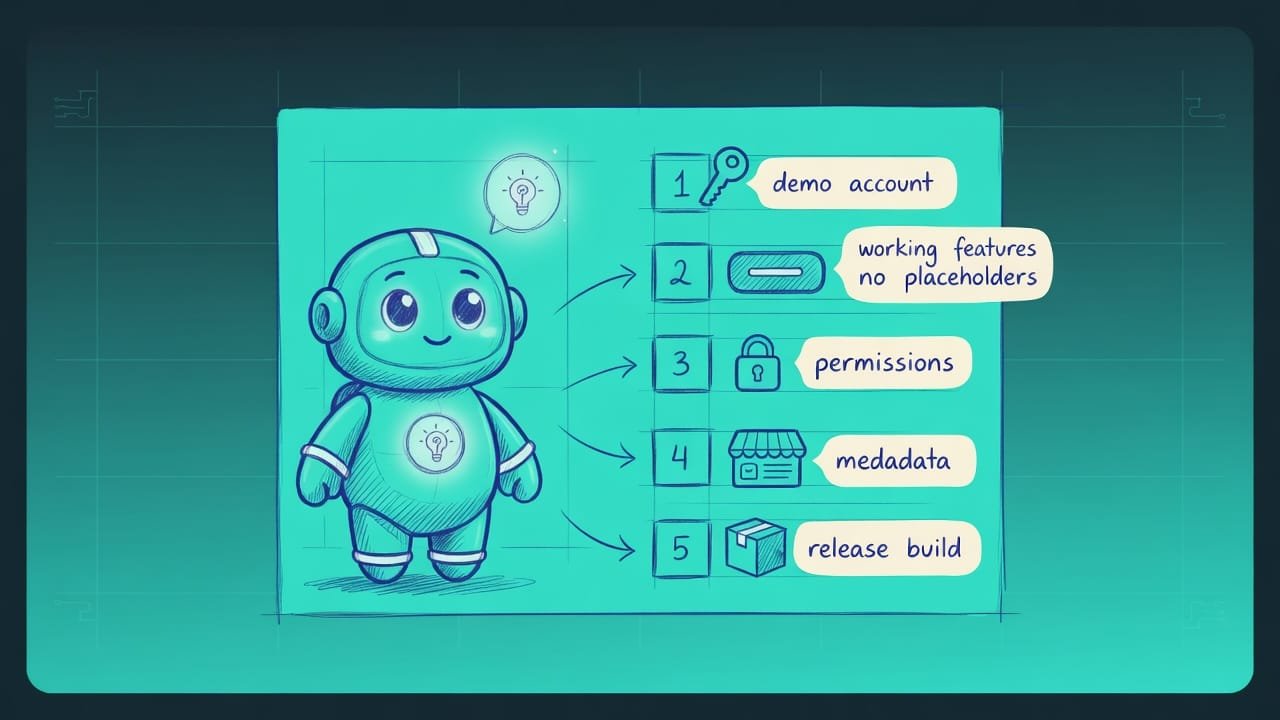
Example: walking the checklist through the reviewer’s eyes
Do this from a clean device or under a different user. That way you see the app the way the reviewer sees it, not “your way, where everything’s already logged in and the permissions are granted.”
- Create or check the demo account. Log in with it from a clean device - no captcha, no SMS, no email confirmation. All the paid and gated sections opened.
- Put the demo account login and password into the reviewer field in the store console. Add a short note on how to use the app if anything isn’t obvious.
- Walk through every button and tab. Not a single placeholder, not one “Coming soon,” not one empty screen or block of lorem ipsum.
- Open the permissions list. Keep only the ones that actually do something, and check that each one has a plain-English note on why.
- Cross-check the metadata: name, description, screenshots from the real app, a working privacy policy link, a filled-out section on the data you collect.
- Build the release. Bump the version number, confirm the app points at the production server rather than a test one, and that debug logs are off.
- Upload the build, run through the fields one more time, and hit Submit for review. Leave yourself buffer time - you’re not shipping on the day of the deadline.
And one more small step a lot of people skip - a note to the reviewer. In the same field where you put the login, there’s room for free text. If the app hides a non-obvious flow (tap here, then here), a couple of lines of guidance saves the reviewer a minute and removes a reason to nitpick. Here’s a skeleton - paste it and tweak it for your app.
Demo account:
Login: demo@example.com
Password: your-password
Sign in: open the app, enter the login and password from this screen. No captcha, no SMS.
How to see paid features: open the “Subscription” section - everything is already unlocked under this account.
Main flow: create an entry on the home screen, then open it and tap “Export.”
Contact for questions: your-email
Common beginner mistakes when submitting for review
- No demo account, or it doesn’t work. The most common rejection. Provide a working login and password with full access, and test the sign-in yourself from a clean device.
- Sign-in with a captcha or SMS. The reviewer won’t get a code on your phone number. Set up a separate simple sign-in for review.
- Placeholders and “Coming soon” buttons. Feature isn’t ready - pull it out of the UI instead of leaving an empty button.
- Extra permissions just in case. The generated template pulls in camera and location access for no reason. Clear out everything you don’t use.
- Metadata that doesn’t match the app. Promised something in the description that isn’t inside - that’s grounds for rejection. Match the storefront to reality.
- You submitted a debug build. A test server, debug logs, the same version number - the store will bounce it. Build a signed release and bump the version.
- Releasing right up against the date. Review times are unpredictable. One rejection and you’ve missed it. Always build in a buffer.
TL;DR - если коротко
- A real human reviewer will open your app and click through it by hand. Let them get all the way through without hitting a wall.
- The demo account is failure number one. Hand over a ready-to-use login with full access, no captcha and no SMS, dropped straight into the review field.
- No placeholders. A “Coming soon” label and an empty screen are an almost guaranteed rejection. If there’s a button, it has to work.
- Permissions - only the ones you actually need, each with a clear note on why.
- Metadata - description, screenshots, privacy policy, the data section - all match what’s actually inside the app.
- You ship a release build with a bumped version. Review times are unpredictable - don’t ship right up against a deadline.