ControlNet in ComfyUI: Pose, Depth, and Outlines
You can't explain a pose with a prompt - show the model a skeleton
ControlNet in ComfyUI in plain English: pose, depth, canny, and scribble, why you need a preprocessor and the Apply ControlNet node, and how to keep pose and composition under control.
What ControlNet is, in plain English
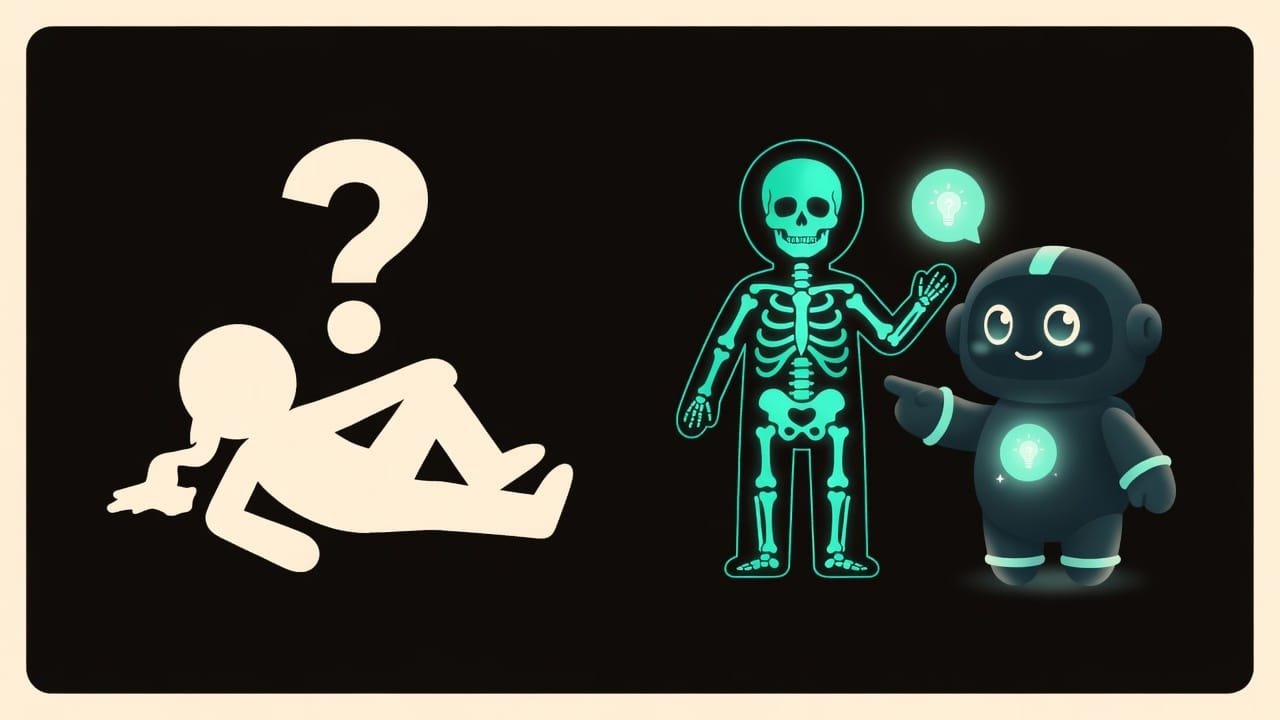
Imagine ordering a portrait over the phone. You tell the artist: “draw a girl in a red coat with a city in the background.” The artist is skilled, but draws it their own way. The pose is wrong. The hand is in the wrong spot. The head is turned off to one side. And there’s nothing you can do - you can’t convey a pose with words. Words just aren’t enough.
Now, on top of the words, you also send a diagram: here’s where the person stands, here’s how the arms are raised, here’s the horizon line. That’s exactly what ControlNet is. The text answers the question “what to draw.” ControlNet answers “where to put it and in what pose.”
Why a vibecoder needs ControlNet
You’re building a generation out of nodes. And sooner or later you’ll hit a wall. The image looks great, but the pose is wrong. Or the character is standing in the wrong place. Or you want to turn your own sketch into clean art. A prompt won’t fix this - no matter how many times you write “arms up,” the model still decides for you.
Here’s what ControlNet gives you that a prompt can’t:
- reproduce a pose from a reference - your own photo, a screenshot, someone else’s image;
- preserve the composition and volume of a scene while changing only the style;
- turn a rough sketch into clean art;
- make a series of images in the exact same layout.
Without ControlNet, you’re talking the model into something with words. With ControlNet, you’re showing it. That’s the difference between “take a guess” and “do it like this.”
How ControlNet works: the preprocessor and Apply ControlNet
Under the hood it’s two steps. First, the reference has to be translated into the language of diagrams. Then that diagram has to be mixed into the generation. Let’s break down both.
The preprocessor: a photo-to-diagram translator
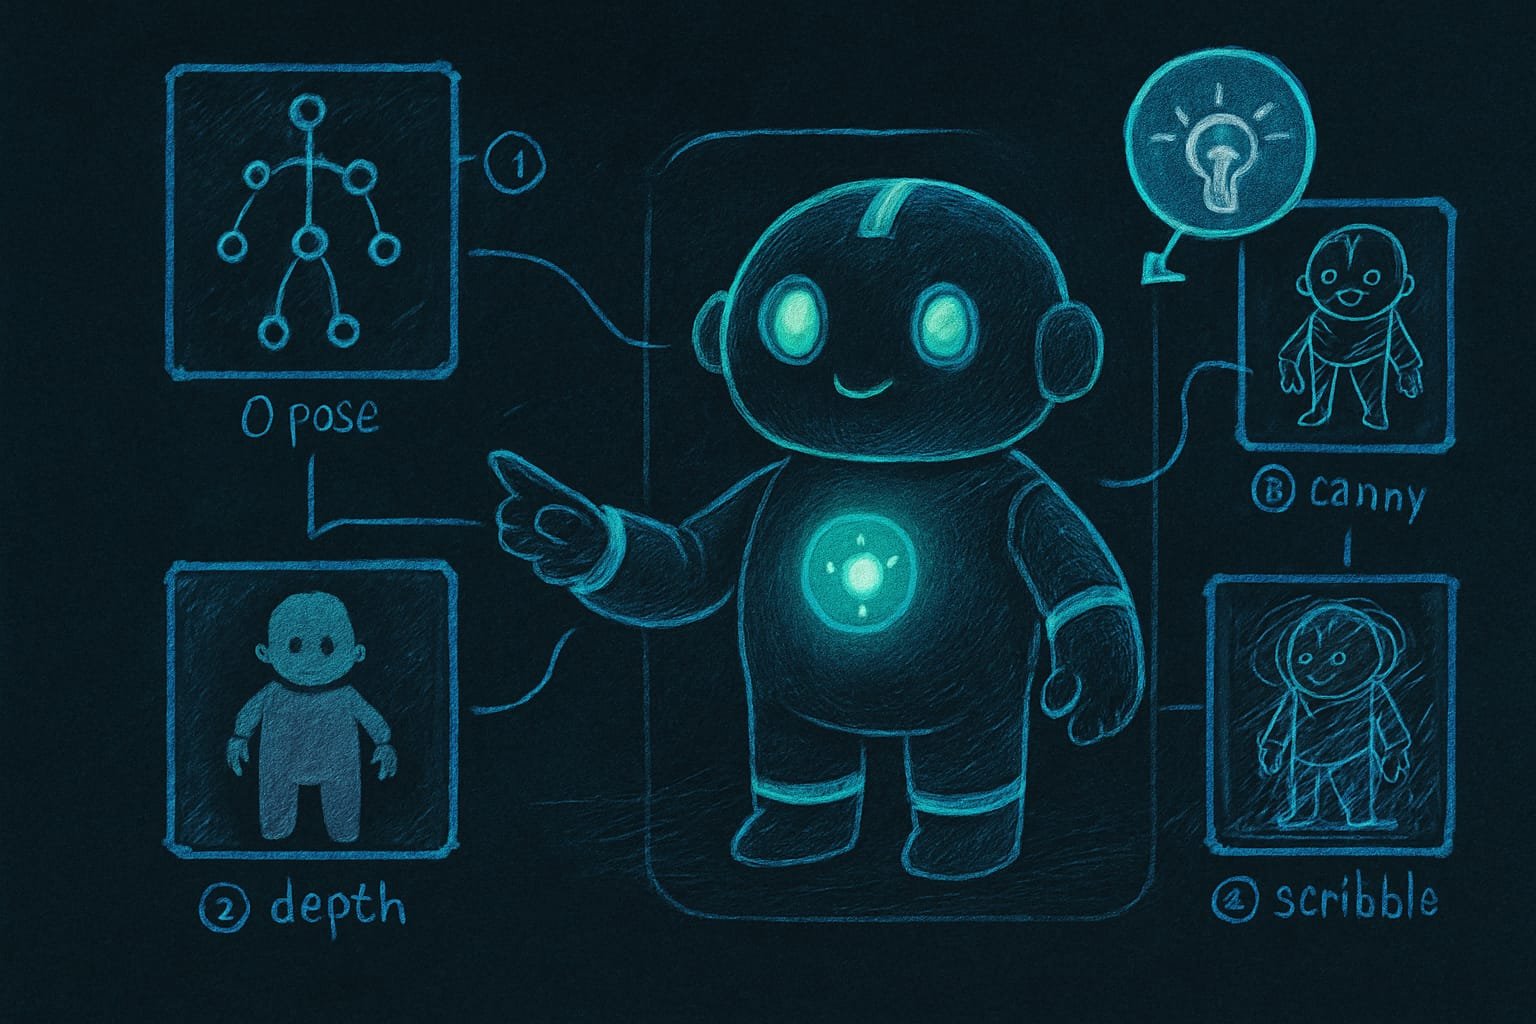
Preprocessor A preprocessor is a node that takes an ordinary image and extracts only the layer you need: the pose skeleton, a depth map, or the outlines. It throws everything else away. is a filter. Feed it a photo of a person and it returns not a photo, but a stick-figure skeleton (pose mode). Or a black-and-white depth map, where near is bright and far is dark (depth). Or just the outlines, like a coloring book (canny). Everything else gets cut away. What’s left is a clean diagram and nothing more.
Apply ControlNet: where the diagram meets the prompt
The Apply ControlNet node is the exact spot where the diagram joins up with your text. You feed it three things: the loaded ControlNet model (a separate file for the type you need), the diagram image from the preprocessor, and your conditioning (that same prompt after the encoder). The output is the same prompt, but now “bound” to the diagram.
The four ControlNet modes: pose, depth, canny, scribble
There are plenty of modes, but four are enough for a beginner. Think of them as four ways to “trace” a reference - each for its own job.
Pose (OpenPose): reproducing a person’s pose
The preprocessor - often called OpenPose - finds a person in a photo and draws their skeleton out of dots and sticks: shoulders, elbows, knees. Then the model puts your character into exactly that pose. Hair color, clothing, background you set with the prompt - the skeleton holds only the pose, nothing else. There are extended versions too: they also catch fingers and facial expressions.
Depth: preserving the volume and planes of a scene
A depth map A depth map is a black-and-white image where brightness shows distance: what's closer to the camera is brighter, what's farther is darker. tells the model where the scene’s foreground is and where the background is. Handy when you want to preserve the layout and volume of a room or landscape but change the style completely. The geometry stays put, the filling is new.
Canny: holding crisp outlines
Canny keeps only the sharp outline lines of an image - like a coloring book. This is the strictest mode: the model reproduces objects’ contours almost exactly. Just what you need when you want to recolor or redraw something in a different style, but the shape must stay untouched.
Scribble: bringing a freehand sketch to life
Scribble understands rough doodles. Draw a circle for a head, sticks for arms, a little house in the background - and the model will build a proper image out of it. The freest mode: you set the general idea, the model handles the rest.
When ControlNet helps and when it just gets in the way
- You need a specific pose - reproduced from a photo or reference.
- You want to preserve a scene's composition while changing only the style.
- You have a sketch that needs to be finished into clean art.
- You're making a series of images in one layout.
- You don't care where or how - a plain prompt is enough.
- You want the model fully free - a diagram would only tie its hands.
- You just want random variations for inspiration.
- You don't have a suitable reference - there's simply nothing to build a diagram from.
Example: setting a pose through ControlNet, step by step
You want a character in an epic pose: arm stretched out forward, as if casting a spell. You write the prompt for the twentieth time - and the model stubbornly draws the arms by the sides. Sound familiar? This is exactly where ControlNet saves you.
Here’s how to put it together, step by step:
- Find or take a reference photo with the pose you want - even a selfie of you in that pose will do.
- Install the ControlNet preprocessor pack through ComfyUI Manager if you don’t have it yet.
- Download a ControlNet model for the pose type and drop it into the ControlNet models folder.
- Load the reference with an image-loading node.
- Run it through the pose preprocessor - the output will be a skeleton of dots.
- Add an Apply ControlNet node and feed it three inputs: the ControlNet model, the skeleton, and your prompt.
- Then continue as usual: sampler, decode, save.
- Is the pose holding too rigidly, or barely at all? Adjust the strength parameter.
Common beginner mistakes with ControlNet
- Fed the preprocessor to the wrong model. Outlines into a depth model - and the output is mush. Type to type, always.
- Forgot the preprocessor itself. Fed a raw photo into Apply ControlNet instead of a diagram - the model has no idea what you want from it.
- Didn’t install the preprocessor pack. The nodes simply won’t show up in search. That’s not a bug - that’s “not installed.”
- Always cranking strength to the max. Too rigid a diagram chokes the model and ruins the image. Try easing off.
- Expecting magic from a blurry skeleton. If the pose in the reference is unreadable, the preprocessor will spit out a crooked skeleton, and the pose will come out crooked.
- Thinking ControlNet draws for you. It holds the geometry. Content and style are still on the prompt.
TL;DR - если коротко
- ControlNet is a leash for your generation: with words you say the “what,” and with a reference diagram you say the “where and in what pose.”
- A preprocessor pulls a diagram out of a photo - a skeleton, a depth map, or outlines. Apply ControlNet mixes it into the generation.
- Four working modes: pose, depth (volume and planes), canny (crisp outlines), scribble (a freehand sketch).
- The iron rule: the preprocessor and the ControlNet model must be the same type - canny to canny, depth to depth.
- Strength is how tight you pull the leash: higher means the diagram holds harder, lower gives the model more freedom.
- ControlNet doesn't draw for you. It holds the geometry - content and style are still the prompt's job.