Video and animation in ComfyUI: how to bring a picture to life
Your picture learned to stand still. Now you teach it to move - and you pay for it with time
How to make video in ComfyUI in plain words: what frames are, where motion comes from, why you need AnimateDiff and video models, and what hardware you actually need for animation.
What video in ComfyUI actually is, in plain words
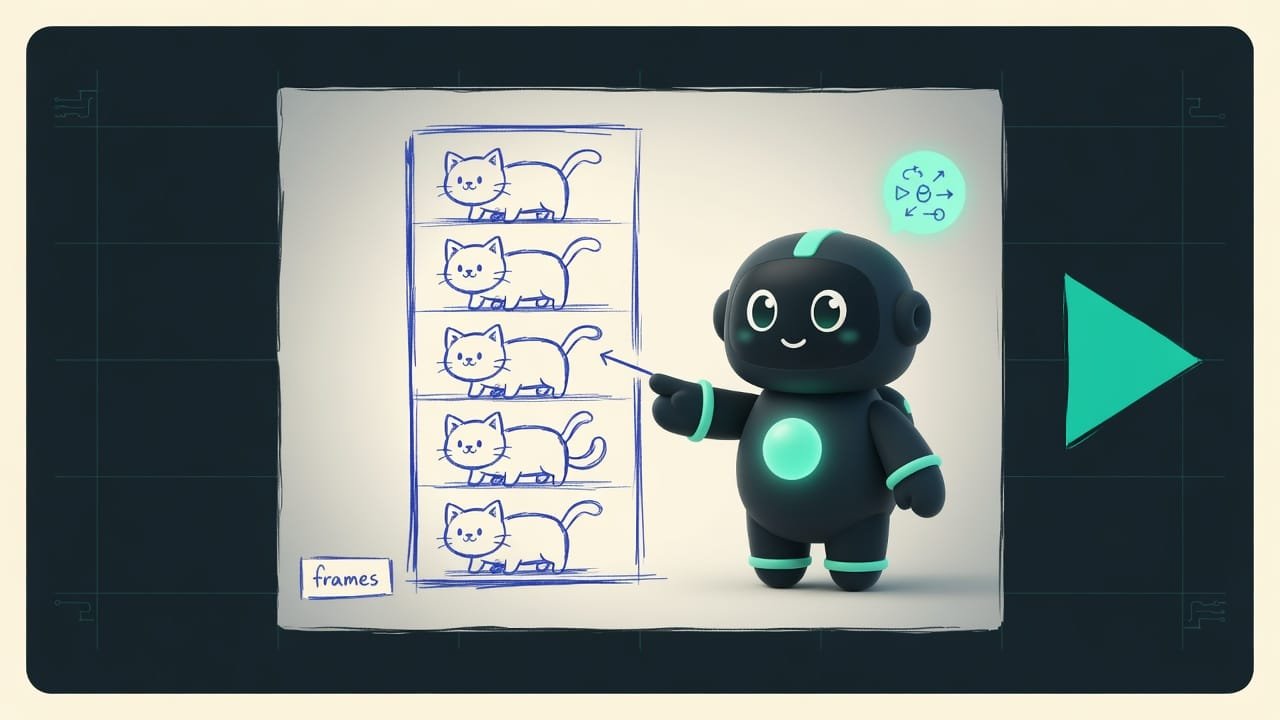
Remember the little flipbook from childhood? You draw a stick figure in the corner of a page, nudge the arm and leg a bit, flip through it fast - and the figure runs. That’s exactly what video is. No magic: video is a stack of pictures shown very fast, one after another.
So for ComfyUI to hand you a video, it has to draw not one picture but many. A whole stack of frames. And that’s where the main catch shows up. Ask the AI to draw a “cat” ten times - you’ll get ten different cats. Flip through them, and instead of smooth motion you get a jittery kaleidoscope of ten unrelated cats.
So the whole job of video in ComfyUI boils down to one thing: make neighboring frames nearly identical, so only what’s supposed to move changes. Same cat. Only the tail wiggles.
Why a vibecoder should get the basics of animation
You’re a vibecoder, not an animator. But the moment you want a moving logo, a quick clip for stories, or just to bring your picture to life - you run straight into video. Here’s what saves you from disappointment:
- you’ll understand why video takes so long, and you won’t think something’s broken;
- you won’t buy a weak computer hoping to crank out video on it and throw your money away;
- you’ll ask for something reasonable - a couple of seconds, not a Hollywood blockbuster on the first click;
- you won’t drown in model names that go obsolete faster than you can finish this lesson.
How ComfyUI makes video out of frames
Frames: drawing not one picture but a stack
A regular workflow A workflow is a diagram of connected blocks (nodes) in ComfyUI that drives the generation: you load a model, type a prompt, get a picture. in ComfyUI produces one picture. A video workflow produces many frames in a single run - usually a short clip, roughly a couple of seconds. You don’t make a whole minute right away. You make a tiny piece, and then, if needed, you stretch it.
Why? The more frames, the more memory and time. The machine holds the entire stack in its head at once so the frames stay friends. The longer the stack, the harder that gets.
Motion: who teaches frames to hold onto each other
The model that draws pictures knows nothing about time. It doesn’t care what was on the previous frame - it starts from a blank slate every single time. That’s why a separate “motion layer” gets added to the workflow.
The first popular approach, historically, was AnimateDiff AnimateDiff is an add-on to a regular image-generation model: it adds a motion module that ties neighboring frames together, so you get smooth video instead of a set of unrelated pictures. . The idea is simple: you bolt a separate “motion module” onto a normal image model. It looks at the whole stack of frames at once and says: “hey, this is all one scene - hold the composition, change only what’s supposed to move.”
Today, besides AnimateDiff, there are also modern video models - these were trained on video from the start, not on individual pictures. They understand motion out of the box and give noticeably smoother, more stable results. Names and versions change literally every month, so memorize not the names but the principle:
Text-to-video or image-to-video: where to start
Video is usually made two ways, and it helps to know the difference:
- From text (text-to-video): you write a prompt - you get a clip from scratch. Convenient, but you have less control over exactly how everything looks.
- From a picture (image-to-video): you hand over a finished picture - and the model brings it to life, adding motion. Often simpler and more predictable: you already know what the first frame looks like.
Interpolation and stretching: the final polish on a clip
The raw result is usually short and a bit jittery. Two tricks come to the rescue here, and you’ll run into them constantly:
- Frame interpolation Frame interpolation is filling in the in-between frames between the ones you already have, so motion gets smoother: you had 12 frames per second - now you have 24. - the machine fills in frames between the finished ones, and the video gets smoother, as if the frame rate went up.
- Stretching - you take the last frame of a finished clip and start a new one from it, gluing them into a longer clip.
What hardware you need for video in ComfyUI
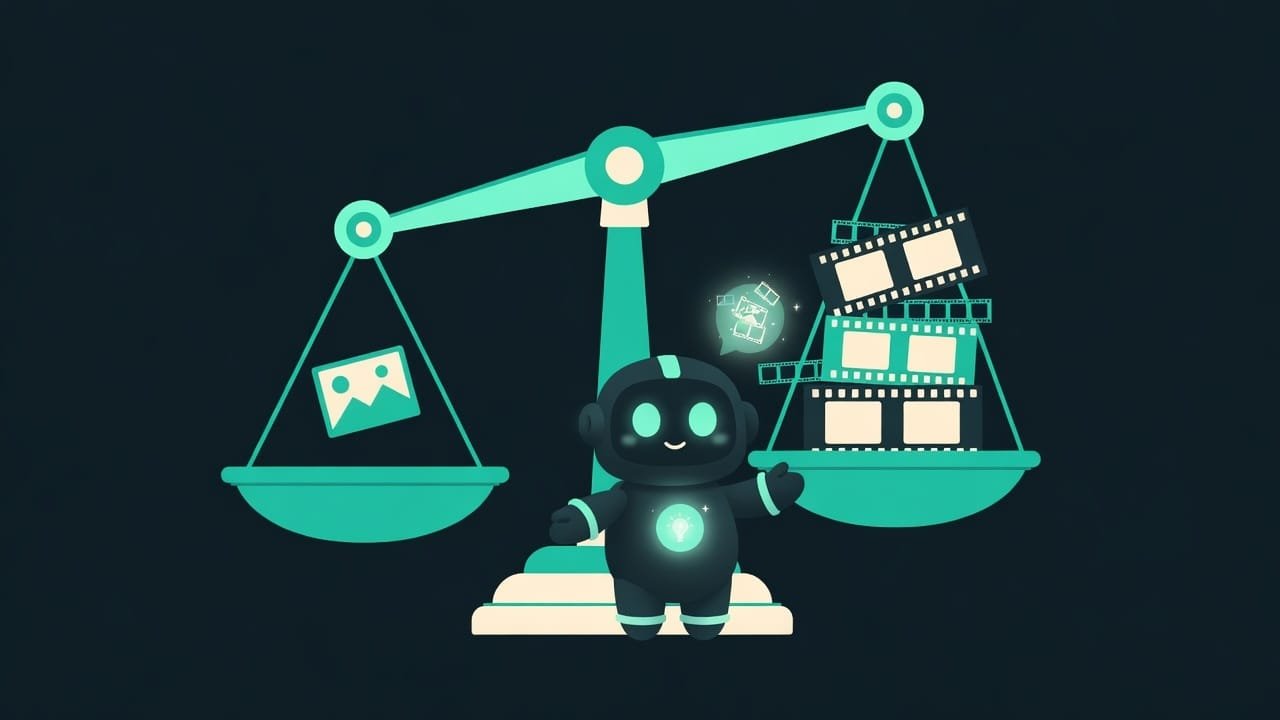
And here’s the honest talk you came to this lesson for. Video is hungry. Very.
- You can run a picture on almost any gaming computer.
- A short ‘bring my picture to life’ clip is the cheapest and fastest way into video.
- You can start on cloud services without buying powerful hardware.
- Interpolation and stretching let you assemble a decent clip out of short pieces.
- Video wants a good graphics card - noticeably more memory than pictures need.
- You'll be waiting minutes for a couple of seconds of clip, not seconds.
- The longer the clip and the higher the resolution, the bigger its appetite for memory and time.
- On weak hardware you'll hit ‘out of memory’ far sooner than you would with pictures.
Example: how to bring a picture to life for stories
You made a cool picture - a neon cat against a city backdrop - and you want its eyes to glow and its tail to wiggle for stories. You don’t need a minute-long cartoon here. You need something else: take the finished picture, ask for a little motion, get a couple of seconds, and smooth it and loop it if you feel like it.
Here’s how to frame a task like that sensibly. This isn’t code, it’s a human framing - so you don’t ask for the impossible:
- Start from a finished picture (image-to-video) instead of generating a clip from scratch - it’s more predictable that way.
- Ask for a short clip - a couple of seconds, not a minute. You’ll grow the length later.
- Describe only what should move: the eyes glow and the tail sways slightly. Let everything else stay still.
- Start with a small frame size. Once it looks good - then crank up the resolution.
- Smooth the finished clip with interpolation if you like, and loop it for stories.
- Budget minutes for the wait - for video that’s normal.
Common mistakes when generating video
- Asking for a long clip right away. Memory runs out, and you’ll be waiting forever. Make short pieces and glue them together.
- Chasing maximum resolution on the first try. First get decent motion at a small size, then bump up the quality.
- Expecting seconds, like with a picture. Video counts in minutes - that’s not a freeze, that’s the work.
- Describing motion for everything at once. The more that wiggles, the bigger the mess. Move one or two elements.
- Memorizing specific model names. A new one comes out in a month. Hold onto the principle: frames plus the link between them.
- Running video on weak hardware and getting mad. Low on memory - grab the cloud or start with the lightest, shortest clips.
TL;DR - если коротко
- Video is just a lot of pictures in a row. The whole trick is making neighboring frames look alike, otherwise instead of motion you get a flickering mess.
- AnimateDiff and video models add a sense of motion to the generation - they teach neighboring frames to hold onto each other.
- You generate a short clip a couple of seconds long, and only then stretch and smooth it out.
- Don't draw a clip from scratch - bring an existing picture to life. It's far more predictable.
- Video eats resources way harder than pictures: a beefier card, and the wait is in minutes, not seconds.
- Models change every month - hold onto the principles, not the names.