Speeding Up ComfyUI and Ready-Made Workflows for Weak GPUs
Stop waiting five minutes and stop wiring up node graphs from scratch
How to speed up ComfyUI on a weak GPU, pull a ready-made workflow straight out of a PNG, find node graphs in communities, and install missing nodes with one button using ComfyUI Manager.
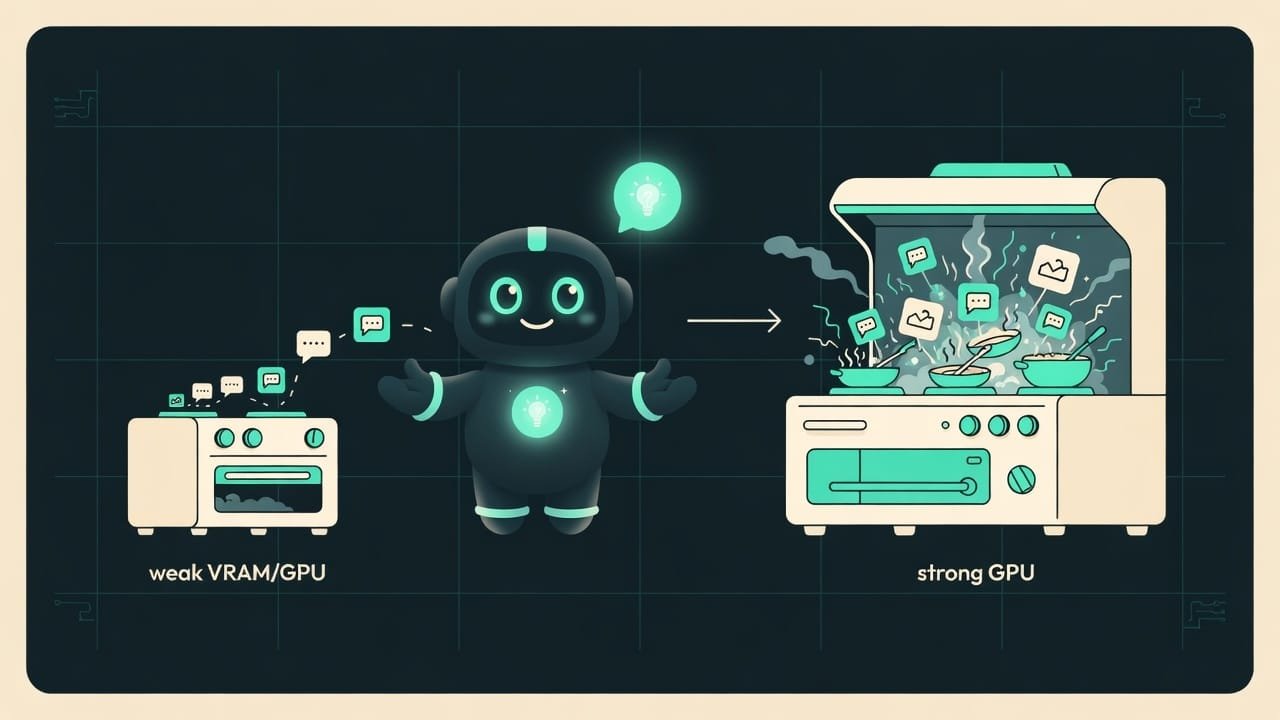
ComfyUI is the kitchen, and your GPU is the stove
Seriously, the analogy holds up. To cook a picture, all the ingredients - the model, the prompt, the steps - have to fit on the stove at the same time. The size of the stove is your VRAM VRAM is video memory, the GPU's own dedicated memory. This is where the model gets loaded during generation. Low on VRAM and the whole model won't fit, so you have to get clever. . A big stove means cooking fast and in bulk. A small one? You can still cook. You just add ingredients one at a time, and it goes a bit slower.
Now the good news. You almost never have to build the kitchen from scratch. Ready-made workflows (these are graphs made of nodes) have already been assembled by other people. And that graph is often hidden right inside the picture - drag it into ComfyUI and the whole recipe unfolds by itself.
Why a vibecoder needs to know this at all
You’re a vibecoder, not an engineer. You need it to work and not drive you nuts. These tricks give you exactly that:
- generation that doesn’t crash with an “out of memory” error right on your laptop;
- a result in minutes - you grab someone else’s graph instead of spending an hour building your own;
- calm when you open someone’s workflow and half the blocks are red (fixable with one button);
- protection from drowning in complexity when there are so many nodes you just want to close the tab.
Almost every “it doesn’t work for me” in ComfyUI comes down to three causes: not enough video memory, a missing node, or a graph that’s too complex. And all three are fixable.
How to speed up generation on a weak GPU
Memory-saving modes: medvram and lowvram
ComfyUI can offload part of the model from video memory into regular RAM when there isn’t enough room. That’s exactly what “cooking one at a time” means. You turn it on with flags at launch - basically, checkboxes that tell the program to “go easy on memory.”
- Normal mode - everything sits in video memory and runs fast. This is for cards with room to spare.
- Thrifty mode (medvram) - part of it moves into RAM. A little slower, but it fits where normal mode crashed.
- Very thrifty mode (lowvram) - the model “lives” almost entirely in RAM and gets loaded in chunks. Slow, but the picture comes out even on a weak card.
Fewer pixels and steps mean a faster result
Speed depends almost linearly on the image size and the number of steps. Want to test an idea fast? Generate a small preview. And once you like the composition, redo it at full size.
- Size: start small (say, 512 by 512 or 768 by 768), then scale up.
- Steps: more steps means a longer wait. Often 20-30 is plenty, and hundreds of steps are almost never needed.
- Draft and final: don’t run every idea at maximum quality. Only polish the final to perfection.
Batch size vs. batch count: what’s the difference
This is where beginners get stuck, but the difference couldn’t be simpler:
- Batch size - how many images get generated at the same time. This loads up video memory. On a weak card, keep it at 1.
- Batch count - how many times the graph runs in a row. It doesn’t touch memory, it just queues the jobs.
Where to get ready-made ComfyUI workflows
The node graph is hidden right inside the PNG
When ComfyUI saves an image as a PNG, it hides the entire recipe (the node graph) right in the file - in its invisible metadata. That’s why a nice picture captioned “here’s my workflow” is often the actual working file you can open.
- Download the PNG image the author attached a workflow to.
- Open ComfyUI in your browser.
- Just drag the image file with your mouse straight into the ComfyUI window.
- The node graph unfolds on its own - with all the author’s settings.
- If dragging didn’t work, open it through the Workflows menu, the Open item, and pick the image.
- Change the prompt to suit you and hit run.

Civitai, OpenArt and templates: don’t reinvent the wheel
Thousands of people have already built graphs for every task you can think of - portraits, upscaling, background swaps, video. Take them and use them, nobody’s going to judge you.
- Civitai - a huge database of models and workflows from users: from dead simple to mind-bending.
- OpenArt - a library of ready-made graphs with a handy search.
- Built-in ComfyUI templates - ready-made examples sit right inside the program itself (the Templates menu). Start there, no downloads needed.
- GitHub and official examples - node authors usually stash demo graphs somewhere.
ComfyUI Manager: the rescuer of red nodes
You open someone’s graph and half the blocks are red and screaming about an error. What does that mean? The graph contains third-party nodes (plugins) that you don’t have yet. Don’t panic - this is completely normal.
ComfyUI Manager ComfyUI Manager is a helper extension. It installs, updates, enables and disables third-party nodes. Its main superpower is a button that automatically finds and installs everything missing for the graph you opened. fixes this in a couple of clicks.
- Open the Manager menu in the ComfyUI interface.
- Hit the “Install Missing Custom Nodes” item.
- ComfyUI shows you a list of what’s missing for this specific graph.
- Hit install - you can do the whole list at once.
- Restart ComfyUI when it asks you to.
- Open the graph again - the red blocks turn normal.
How not to drown in ComfyUI complexity
ComfyUI knows how to scare you. A hundred blocks on screen, wires like spaghetti, and it feels like it’s just not for you. Spoiler: that feeling is wrong.
- Take one simple working graph and drive it all the way to a result.
- Turn one knob at a time - and watch what changed.
- Treat complex nodes as black boxes: if it works, don't poke inside.
- Save the working graph before you break anything in it.
- Grabbing the most loaded graph with 200 nodes right away and drowning.
- Yanking five settings at once - and then having no idea what broke.
- Trying to understand every node before running anything at all.
- Installing dozens of third-party nodes just in case - and hitting conflicts.
Walking through a live example
You spotted a cool portrait style on Civitai and you want the same thing. Let’s go:
- You download the original PNG (with the download button, not a right-click).
- You drag it into ComfyUI - the graph unfolds, but three nodes are red.
- You open the Manager, hit Install Missing, install, restart - the red is gone.
- Your GPU is weak, so you set batch size = 1 and make the size smaller for a test run.
- You change only the prompt text to match your idea and leave everything else alone.
- You hit run and get a draft. Like it? Redo it at full size.
Half an hour ago this looked like magic for the chosen few. In reality - dragged it in, installed the nodes, swapped the text. That’s it.
Common beginner mistakes in ComfyUI
- Going straight to maximum size on a weak card. Do a small draft first, the final later.
- Mixing up batch size and batch count. On a weak card, keep batch size at 1 and crank the run count as high as it’ll go.
- Saving an image with right-click. That often loses the hidden graph. Grab the original PNG via download.
- Freaking out over red nodes. That’s not a breakage, it’s just missing plugins. Manager fixes it.
- Grabbing a giant graph right away. Start with a simple built-in template.
- Turning every knob at once. Change one setting at a time - otherwise you’ll never know what actually mattered.
TL;DR - если коротко
- Video memory (VRAM) is your ceiling. Short on memory? Flip on a thrifty mode - the picture still comes out, just not as fast.
- A ready-made workflow is often baked right into the PNG. Drag the image into the window and the whole node graph unfolds on its own. No magic, just plain metadata.
- Ready-made graphs live in communities - Civitai, OpenArt and beyond. But check carefully: you need the original PNG, not a recompressed copy stripped of its data.
- ComfyUI Manager installs the missing nodes for you: open someone's graph, hit Install Missing, and the red blocks come back to life.
- Speed comes down to two knobs: fewer pixels and fewer steps mean a faster result. Test your idea on a draft first.
- Don't drown in complexity: one working graph beats ten pretty ones. Turn one knob at a time.