How to Install ComfyUI on Your PC: 3 Beginner Methods in 2026
Install ComfyUI without the headache - and find out right away if your GPU can handle it
Installing ComfyUI from scratch: desktop app, portable build, or manual install. We break down VRAM requirements, weak PCs, the cloud, and ComfyUI Manager.
What ComfyUI is and why you’d install it
ComfyUI is a program where you build image generation out of little node blocks, like snapping Lego together. But first you have to get it onto your computer somehow. And this is exactly where beginners freeze up. There are three different buttons on the site. The guides talk about some kind of “portable builds.” And the comments are full of people warning you about your GPU.
Take a breath. Installing ComfyUI is like moving into an apartment. You can take it fully furnished (the desktop app - everything’s already in place). Or with a box of stuff ready to go (the portable build - unzip and you’re living there). Or with bare walls that you furnish yourself (the manual install). It’s the same apartment either way. The only difference is how much fuss you’re up for.
Why the install is half the battle
Because 90% of the pain with ComfyUI happens before your first image ever shows up. Right at the install stage. See for yourself. If you:
- figure out which method is yours, you won’t spend an hour downloading the wrong thing;
- check your hardware ahead of time, you won’t end up sulking that “it works for everyone but me”;
- install ComfyUI Manager right away, you’ll forget about dragging files between folders by hand;
- memorize the two key folders, you’ll stop wondering “so where do I even put this model.”
Bottom line: twenty minutes of understanding now saves you a couple of evenings of angry Googling later. Fair trade.
Which ComfyUI install method to choose
Let’s walk through the three options in plain terms. The buttons on the site and the version numbers change over time - so hold on to the idea, not the specific numbers.
Desktop app - the “all-inclusive” option
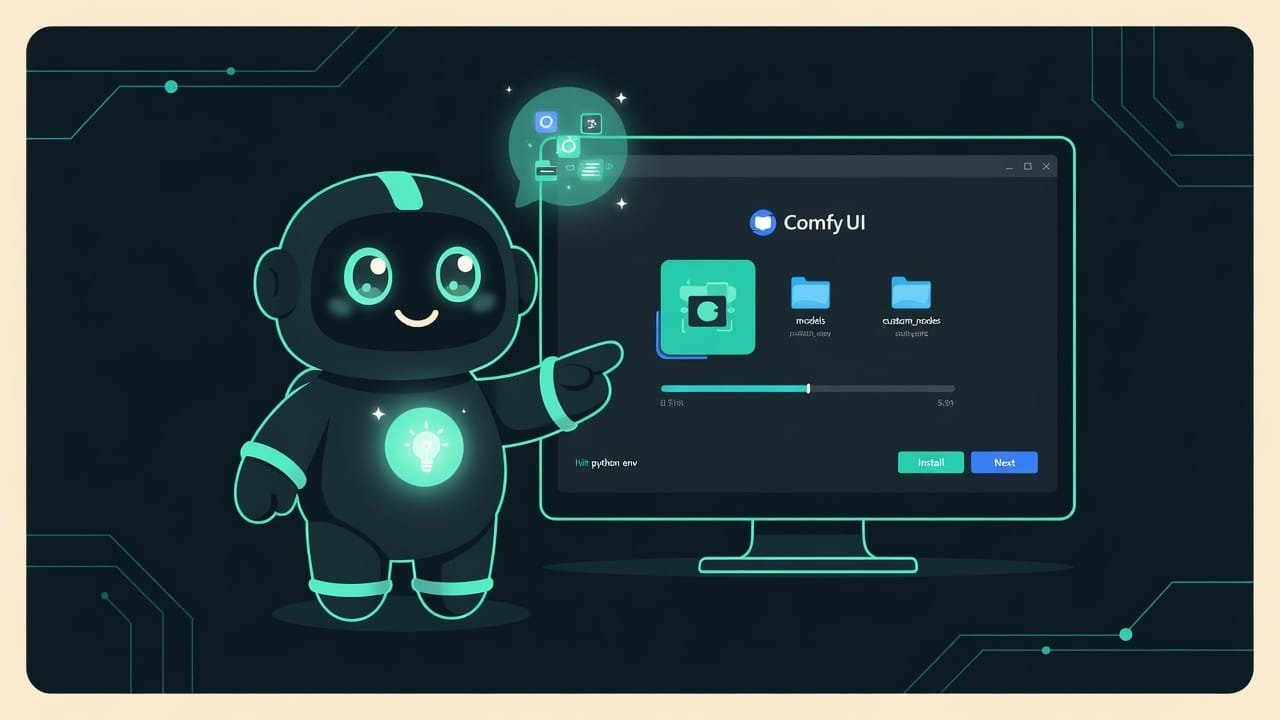
The official desktop app The desktop app is an ordinary program you download and install like any other software: run the installer, click Next a few times - done. The Python it needs and all the dependencies are already baked in. installs like any program. Download the installer, click “Next” a few times, launch it. It pulls in everything it needs under the hood and updates with a single button. For a first introduction, it’s exactly right.
One caveat: the desktop version usually runs on stable releases and lags a bit behind the very newest features. But for a beginner that’s actually a plus - fewer nasty surprises.
Portable build - unzip and it runs
A portable build The portable build is an archive that contains both the program itself and a separate Python with all its libraries. Nothing gets installed into your system: you unzip the folder and run it. is an archive. You unzip it into any folder and launch it with a starter file. Nothing gets “written into” your system, and you can even keep it on a USB stick. The upside is that versions here tend to be fresher. This option is mostly a Windows thing.
Manual install - build it yourself
Here you download the code from GitHub by hand and install the dependencies through the command line. Sounds a little scary, agreed. But in return you get maximum control and the freshest versions. It’s the path for people who don’t mind tinkering or who are already on a first-name basis with the terminal.
The manual install also teaches you what’s going on inside ComfyUI. When something breaks, you’ll fix it deliberately instead of poking around blindly. But that’s not really a day-one task.
- Installs in a couple of clicks - no need to touch the command line.
- Everything you need is already inside, so there's less chance of breaking something.
- The desktop updates with a button, and for the portable you just download the new one - that's it.
- You have to be comfortable with the terminal and understand what you're actually typing.
- You track Python and library versions yourself - conflicts are easy to trigger.
- But you get maximum fresh features and full control over the build.
System requirements: what hardware you need for ComfyUI
The star of the show here is your GPU and its memory. Images are computed on the GPU, not the CPU. So the GPU is what decides whether you wait 10 seconds or 10 minutes.
What VRAM is and how much you need
VRAM VRAM (video RAM) is the memory on the GPU itself, separate from your computer's regular RAM. This is where the model gets loaded during generation. The more of it you have, the bigger the models and images you can handle. is the memory on the GPU itself. The model gets loaded into it while you work. More memory means bigger models and larger images without slamming into an “out of memory” error.
A rough guide (numbers shift, but the ballpark is this):
- 8 GB of VRAM or more - you can breathe easy and run most popular models.
- 4-6 GB - workable, but keep an eye out: smaller images, lighter models, slower speed.
- Under 4 GB or integrated graphics - technically ComfyUI can squeeze itself in with smart offloading. But it’s slow, and for regular work that route isn’t worth it.
NVIDIA cards are the smoothest path; everything is tuned for them first. AMD and Mac work too. There’s just a bit more fiddling involved.
A weak PC isn’t a dealbreaker: cloud and memory savings
No powerful GPU? There are ways out, and more than one:
- Cloud services - you rent someone else’s GPU by the hour. ComfyUI runs “on the internet,” and you just open it in your browser.
- Memory-saving mode - ComfyUI loads the model in pieces to fit into modest VRAM. Slower, sure. But it works.
- Lightweight models and smaller images - they sharply cut down the appetite for memory.
ComfyUI Manager - the store for nodes and models
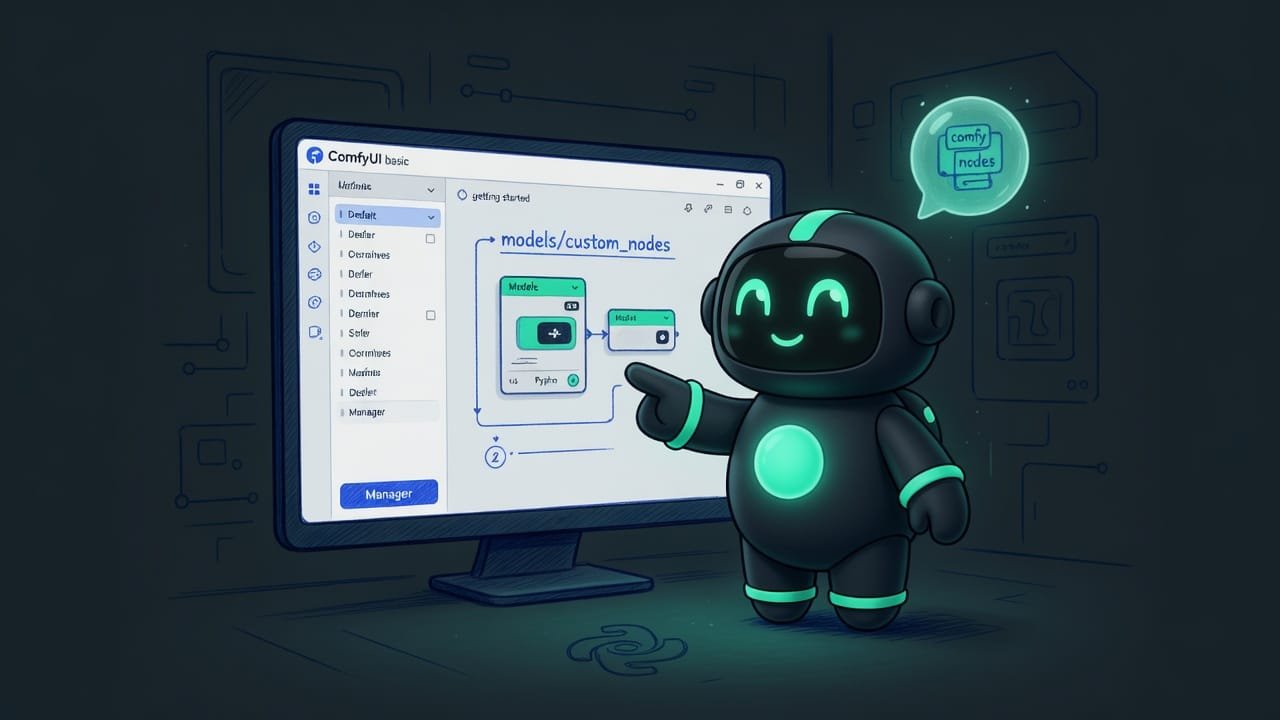
Right after installing, you’ll want ComfyUI Manager ComfyUI Manager is an add-on that works like an app store inside ComfyUI: through the Manager button you install new nodes, update them, and download models in a couple of clicks, without digging through folders by hand. . It doesn’t come with the default install - it’s a separate add-on. But without it, life as a beginner turns into a slog, trust me.
Why do you even need it? Almost all the interesting workflows use custom nodes Nodes are those very blocks you assemble a workflow from. The basic ones ship with the program, while custom ones - extra blocks from the community - are installed separately. - extra blocks from the community. Without Manager you’d have to install them by hand through the command line. With it, it’s easy: open Manager, find what you need by name, hit “install,” restart - done. It also helps you download models.
The models and custom_nodes folders: where to put models and nodes
There are plenty of folders inside ComfyUI, but a beginner cares about exactly two:
- models - this is where models go. Inside there are subfolders:
checkpoints(the main large models),loras,vae,controlnet, and others. Downloaded a model - drop it into the right subfolder. That’s the whole secret. - custom_nodes - this is where custom nodes get installed. Usually Manager does this for you, but it’s handy to know where they live.
Installing ComfyUI from scratch: a step-by-step example
Say you’re on Windows with an 8 GB NVIDIA GPU. Here’s the sequence that will almost certainly get you to your first image.
- Go to the official ComfyUI site and download the desktop app for your system.
- Run the installer, accept the default settings, and wait for it to finish.
- Open ComfyUI - the workspace should load with a ready-made default workflow.
- Install ComfyUI Manager (through the interface itself or by following the instructions on its page) and restart the program.
- Download one basic model and place it in the models folder, in the checkpoints subfolder.
- In the model-loading node, select the file you just added.
- Hit run and wait for your first image.
- Got an out-of-memory error? Reduce the image size and try again.
Common mistakes when installing ComfyUI
- Jumping straight into the manual install. You opened the terminal, caught ten errors, gave up. Start with the desktop, seriously.
- Ignoring VRAM. You downloaded the biggest model, and it won’t fit on the GPU. Check your memory first.
- Confusing VRAM with regular RAM. They’re different things. Requirements are always about the GPU.
- Not installing ComfyUI Manager. Then wondering why other people’s workflows show up “red” and nothing installs.
- Putting a model in the wrong folder. Drop the file in the root and ComfyUI “doesn’t see it.” Models go in models, in the right subfolder.
- Downloading the heaviest model on a weak machine. Start light, get your bearings, and scale up only after that.
TL;DR - если коротко
- Three ways to install: the desktop app (about as easy as it gets), the portable build (unzip and go), and the manual install (for folks who like to tinker).
- It all comes down to VRAM - your GPU's memory. 8 GB and up - breathe easy. 4-6 GB - still fine, just tread a little more carefully.
- No top-tier GPU? No problem. There are cloud services and memory-saving modes - ComfyUI knows how to squeeze itself in.
- First thing after installing, grab ComfyUI Manager - it's the 'app store' for nodes and models. Without it, you're in for a rough time.
- Models go into the models folder by hand, nodes live in custom_nodes. Memorize those two folders and you're halfway home.