Autonomous agent loops: how AI works on its own
Hit the button once - then the agent keeps spinning while you sleep
Autonomous AI agent loops in plain English: a pipeline of steps, a bridge file for memory, a kill switch against runaway spending, and a cleanup step. Run an agent overnight with no nasty surprises.
What an autonomous agent loop is, in plain English
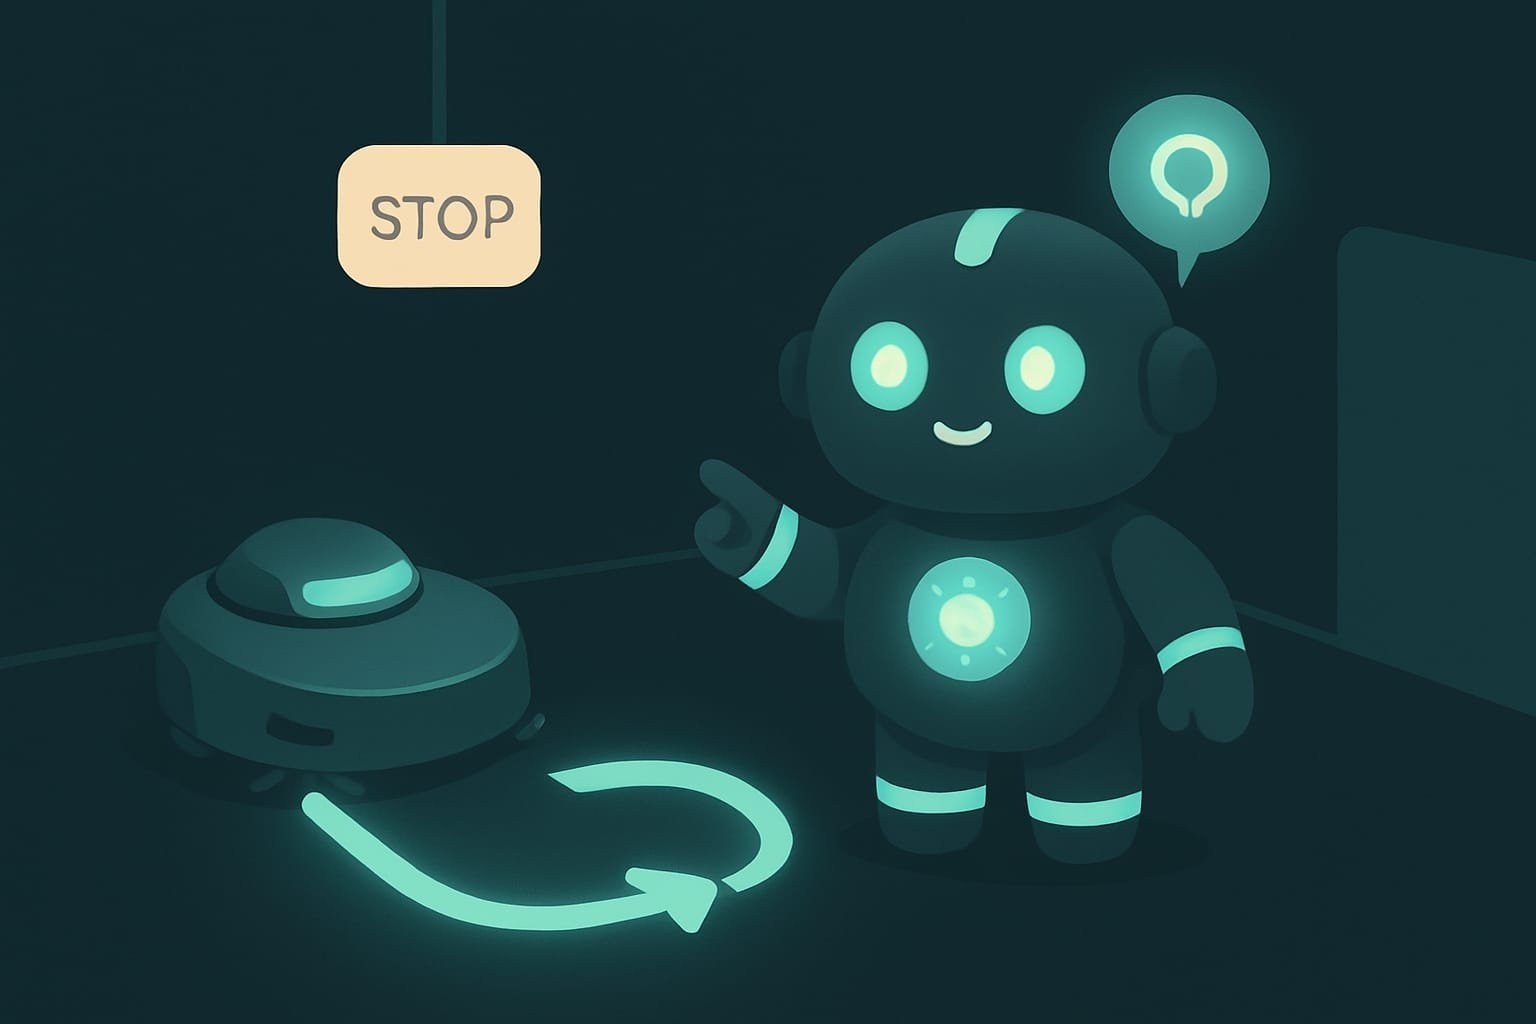
Picture a robot vacuum. You don’t walk it around the room by the handle, right? You hit the button - and it does its own laps: rolls along, bumps into a wall, turns around, keeps going. And on it goes until everything’s clean or the battery dies.
That’s exactly what an autonomous loop An autonomous loop is when the agent, with no input from you, repeats the same set of steps over and over until the task is done or it hits a limit. is for an agent. You’re not hovering over it dictating “now run the tests”, “now fix it”, “now commit” a hundred times. You describe the loop you want once, hit the button - and that’s it. From there the agent spins on its own.
Why a vibecoder needs an agent that works on its own
You’re a vibecoder. Why would you need an agent that grinds away unsupervised? Four reasons.
- Time. The agent handles the boring grind - tests, cleanup, small fixes - overnight. You review the result over coffee in the morning.
- Scale. A single task like “add tests to every function” covers the whole project at once. No need to poke the agent one function at a time.
- Money under control. A healthy loop has a budget cap. It stops itself instead of racking up a bill the size of half your project.
- Quality. You build checks into the loop: the agent runs the tests itself, fixes things itself, and only then saves.
There’s a flip side too. An unsupervised agent is perfectly capable of spinning in place, fixing the same thing over and over, or calmly burning through your whole budget. So you need to understand how a loop works inside. Otherwise it’s not a helper - it’s a jammed vacuum polishing the same corner all night.
Types of autonomous loops: from a simple pipeline to a complex one
Loops come in different “horsepower”. You don’t need to build a spaceship right away - the simplest type covers almost everything.
The pipeline: a chain of separate agent runs
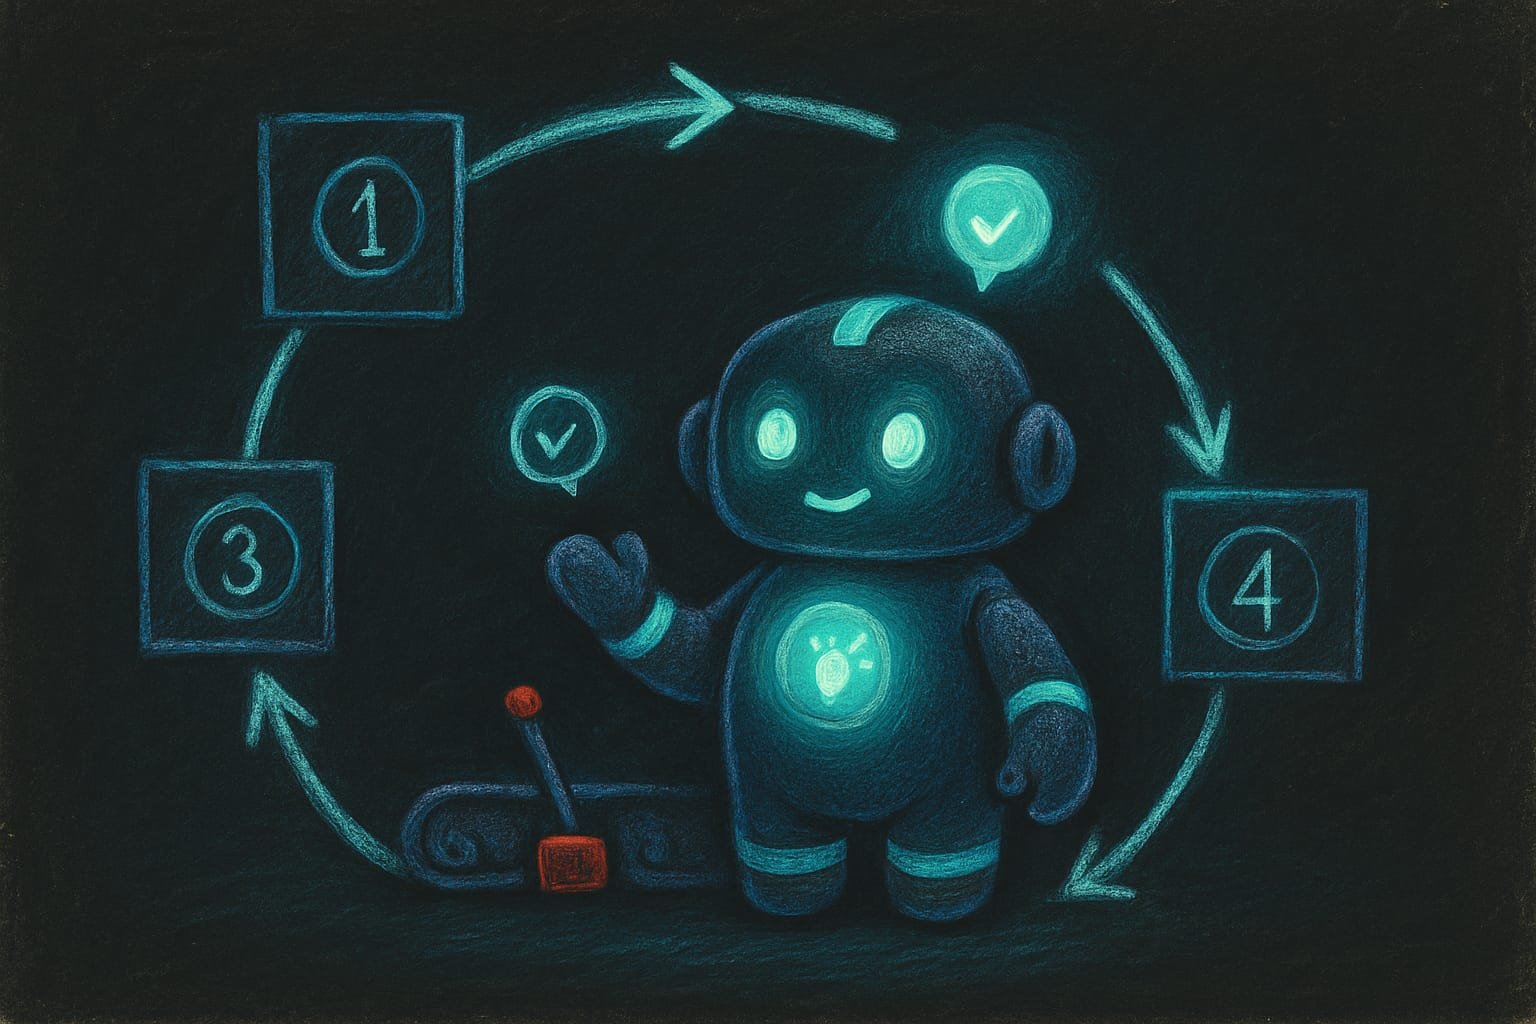
The simplest and most useful type. You take a big task, slice it into steps, and run the agent separately on each step. The classic chain for a single feature:
- Do - write the code from the description.
- Tidy - strip out the clutter: junk checks, debug leftovers.
- Check - run the build, the linter, the tests, and fix whatever broke.
- Save - make a commit with a clear message.
Multi-agent loops: when there are lots of tasks and they’re connected
Is the feature big, splitting into chunks that depend on one another? Then there are heavier-duty loops. There the agent splits the task into parts itself, runs several “workers” in parallel, then carefully merges the results back together and untangles the conflicts.
Sounds powerful. But a beginner almost never needs it. Just keep it in the back of your mind: this exists. Reach for it when you hit the ceiling of the simple pipeline, and not a second sooner.
- The task is one clear thing: one feature, one file, one test run.
- The steps go strictly in order: did it - checked it - saved it.
- You want it fast and headache-free - that’s 90% of cases.
- There are lots of chunks, and they depend on one another.
- You need to run several parts in parallel to make it faster.
- You already have a written spec that’s begging to be split into work units.
The bridge file: how the agent remembers progress between rounds
And here’s the main trap. In a pipeline, each run is a new session with a clean desk. On the “check” step the agent doesn’t remember what it wrote on the “do” step. To it, it’s like the first day on the job.
The fix is brilliantly simple: a bridge file. At the end of each step the agent writes into a plain file (often called SHARED_TASK_NOTES.md) what’s done and what’s left. And at the start of the next round, it reads that file first thing. That’s all.
The notepad looks roughly like this - just text in a file:
- Done: added tests for the auth module.
- Done: fixed the bug with token refresh.
- Left: tests for rate limits, tests for errors.
- Note: the mock in tests/helpers can be reused.
The kill switch: how not to torch your budget with an autonomous agent
By definition, a loop runs on its own. Which means someone has to tell it “enough”. And let that someone be you, now, rather than your wallet at three in the morning. Every autonomous loop must have a limit. There are four kinds, and you can set several at once:
- By count - “do a maximum of 10 rounds, then stop”.
- By money - “stop once you’ve spent 5 dollars”.
- By time - “work no longer than 8 hours”.
- The “I’m done” signal - the agent says a code phrase itself when the work is finished, and the loop shuts off.
The pros and cons of an autonomous loop
- There’s a kill switch: a cap on rounds, money, time, or a done signal.
- There’s a bridge file with progress between rounds.
- If a step fails, the error text gets passed forward instead of getting lost.
- The dirty work is handled by a separate cleanup step, not by don’ts in the prompt.
- An endless loop with no limits - hello, overnight bill.
- No bridge - the agent forgets its progress and walks in circles.
- The loop blindly repeats the same failure without figuring out the cause.
- All the steps in one context - the desk fills up and the agent starts drowning.
Don’t ban things - add a separate cleanup step
A common beginner mistake: cramming a pile of “don’t do this”, “don’t write extra stuff”, “don’t touch that” into the prompt. A pile of don’ts makes the agent timid, and it starts cutting corners everywhere - even where it should have tried hard.
The working move is different. On the “do” step, let the agent work freely and thoroughly. And all the clutter it leaves behind gets swept up by a separate cleanup step with a clean desk. Two focused agents - one builds, one cleans - beat a single agent boxed in by don’ts.
Example: how to cover a project with tests overnight
Say you want the agent to cover your whole project with tests overnight. Are you going to just write “add tests everywhere” and go to bed? In the morning you risk seeing either a mess or a bill for half your budget. A vibecoder who gets it will describe a loop with a bridge and a kill switch. Like this:
Work in autonomous-loop mode: keep adding tests to the project until you’ve covered every function that has no tests.
Loop rules:
- At the start of each round, read the file SHARED_TASK_NOTES.md. If it doesn’t exist - create it. Pull from it the list of what’s already done and what’s left.
- Take ONE module per round. Write the tests thoroughly.
- As a separate action, tidy up the clutter: junk checks, debug prints. Run the tests and fix anything that broke.
- At the end of the round, write into SHARED_TASK_NOTES.md what you did and what’s left.
- Kill switch: do a maximum of 8 rounds. If all modules are covered sooner - write the line WORK COMPLETE and stop.
- If the same test fails two rounds in a row - don’t repeat blindly; describe the cause in the notes and move on to the next module.
The loop went sideways: a debugging checklist
Left the agent in a loop and came back to garbage? Relax. Run through the checklist:
- Was there a kill switch? No limits - set them first thing.
- Is there a bridge? Without a progress file the agent forgets what it did and redoes it from scratch.
- Was it repeating a failure? The same step failing round after round means you need to pass the error text forward, not a bare “try again”.
- Did it dump everything onto one desk? Long steps are better broken into separate runs with fresh context.
- Did you use don’ts instead of a cleanup step? Swap “don’t do X” for a separate cleanup step.

Common beginner mistakes with autonomous loops
- A loop with no kill switch. The scariest one. Always set a limit on rounds, money, or time.
- No bridge file. The agent forgets its progress between rounds and walks in circles, literally.
- Blindly repeating a failure. A step failed - pass the error text forward, not just “do it over”.
- A giant task in one round. Slice it into small steps, one module or file at a time.
- Don’ts instead of cleanup. “Don’t do X” cramps the agent - add a separate cleanup step.
- Everything in one context. For serious loops, spread the steps across separate runs with a clean desk.
TL;DR - если коротко
- An autonomous loop is the agent running “do → check → fix → commit” on its own, so you’re not clicking “next” a hundred times.
- The workhorse is the pipeline: a chain of separate runs, each with a clean desk and one narrow task.
- Context resets between runs. A bridge file like SHARED_TASK_NOTES.md saves you - the agent writes down where it left off.
- A kill switch is mandatory: a cap on rounds, money, time, or an “I’m done” signal.
- Don’t write “don’t do X”. Better to add a separate cleanup step that sweeps up after the agent.
- Came back to a mess after the night shift? Run through the checklist: kill switch, bridge, errors, context.